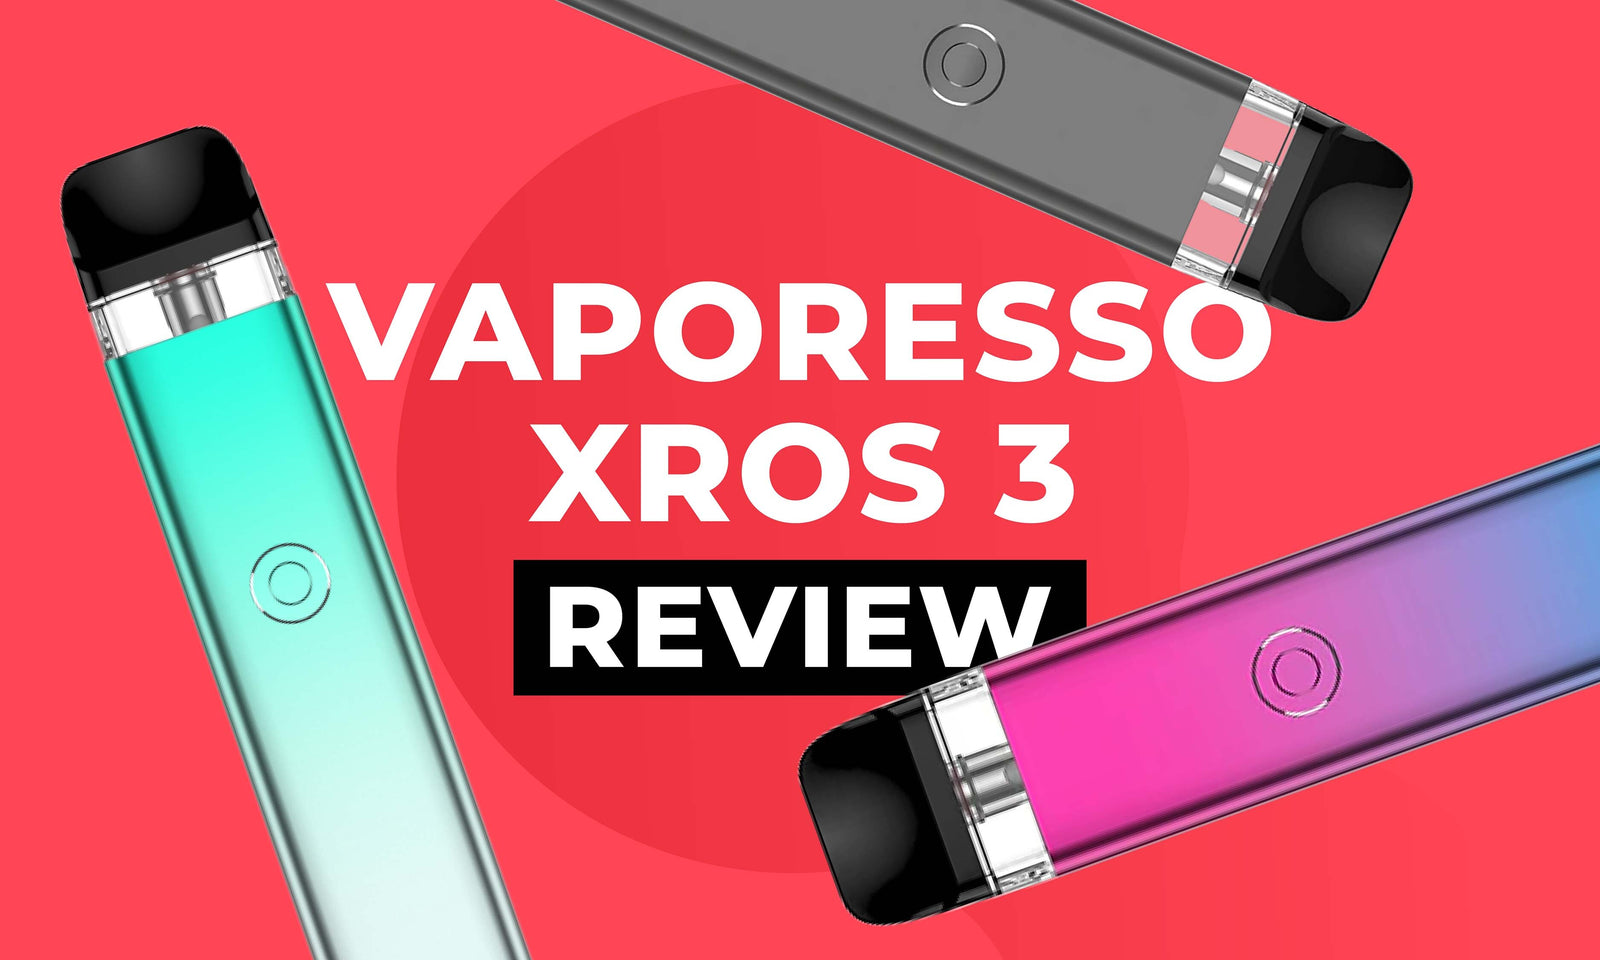
The Vaporesso Xros series of vapes is one of the most popular lines of vape devices to ever be released; with the Xros taking the vape world by storm with the debut of the Vaporesso Xros 2 and Vaporesso Xros 3 - and we understand why. The Xros range by Vaporesso are all slim, sleek devices with long lasting batteries, and each and every one packs a punch in terms of both power and flavour. What’s not to like, right?
In this review I’ll be taking an in depth look at the Xros 3 to discover everything there is to know about this slender, stylish pod system, including how it performs.

Vaporesso Xros 3
1000mAh Internal Battery
2ml E-Liquid Capacity
USB-Type C Charging
Neon LED Indicator
Buy Now
The Vaporesso Xros 3 is the third generation in the Xros line and is a relatively thin pen-style pod kit. The Xros 3 was released at around the same time as the Vaporesso Xros 3 Mini - a smaller, buttonless version that’s slightly more portable due to its pocket-sized battery. Aside from the size and the style of these two devices, they’re otherwise very similar - however, today we’re focusing on the Xros 3 and its multiple upgrades and improvements since the Xros 2.

What’s Different?
Vaporesso have made a few adjustments since the release of the Xros 2/Xros 2 Mini - the first of which is the LED battery indicator. The neon-coloured glowing LED light activates both whilst the device is in use and when it’s being charged. The light will also change colour depending on how much battery life you have leftover and to indicate various issues with your pod kit.

The 3rd generation of the Xros also saw the debut of the new 0.6Ω Xros 3 pod which has been designed using COREX mesh-coil technology for improved flavour, more consistent vapour and longer lasting pods that don’t have to be replaced as frequently. The new 0.6Ω Xros pod is capable of providing both a MTL (Mouth to Lung) and RDTL (Restricted Direct to Lung) inhale, making it suitable for a variety of vapers.

Although the Xros 3 introduced us to a new pod, the best part is that it’s actually compatible with every one of the previously released Xros pods, from the 0.6Ω to the 1.2Ω. This wide variety of resistances allows vapers to use a range of different vape juices with the Xros 3 kit, including nic salt vape juices and freebase e-liquids. However, the Xros still requires a 50/50 VG/PG vape liquid to perform effectively, as it’s a low powered pod kit.

Arguably one of the best changes since the 2nd generation Xros is the new high density 1000mAh battery that can last for up to 48 hours on a single charge. This is largely due to the AXON microchip which controls the pulse mode - a mode that boosts power and flavour whilst conserving battery life, allowing vapers to make the most of their device and enjoy consistent vapour for longer.

There are currently more than 10 different colours and designs available in the Xros 3 vape, from classic colours such as Black and Space Grey, to more daring designs such as the Neon Sunset. See below for a list of all available colours.
- Icy Silver
- Space Grey
- Navy Blue
- Black
- Mint Green
- Royal Gold
- Synthwave
- Neon Sunset
- Fresh Green
- Peach Pink
- Ice Blue
- Rose Pink
- Zenith
- Sky Blue

Xros 3 Key Features
- Inhale/Button Activated
- 1000mAh Internal Battery
- 2ml E-Liquid Capacity
- USB-Type C Charging
- Neon LED Indicator
- Suitable For MTL/RDTL Vaping
Xros 3 Specifications
- Dimensions: 115.1 x 23.6 x 13.7mm
- Weight: 45.7g
- Coil Resistance: 0.6Ω/1.0Ω
- Refillable: Yes
- Rechargeable: Yes

What’s in the Box?
1x Vaporesso Xros 3 Battery1x Xros Series 0.6Ω Mesh Pod (Pre-Installed)
1x Xros Series 1.0Ω Mesh Pod (In Box)
1x Type-C Charging Cable
1x Reminder Card
1x User Manual
1x Warranty Card

Now we’ve covered the technical aspect of the Xros 3, it’s time to take a look at how it actually performs. Whilst i’m testing the Xros 3 i’ll be keeping an eye on how long the battery lasts, as well as the power output and flavour and vapour production of the two different Vaporesso pods. Keep reading to find out more about this refillable pod kit!
How to Setup the Xros 3 Kit
Setting up the Xros 3 was actually really simple and easy - once I’d primed and filled the pod it was just a matter of slotting the pod back into the battery, switching on the device and inhaling. The first pod I tried was the 0.6Ω mesh pod as personally, I prefer a slightly more powerful vape with more airflow, and the 0.6Ω would be the best for this due to its low resistance. Thankfully Vaporesso colour-codes each of their pods, so you know which one you’re using just from a quick glance. The 0.6Ω features an orangey-red rubber bung inside, which is easily recognisable - although if the colour isn’t much use to you, they also state the resistance on the bottom of each vape pod, too.

Filling The Xros 3 Pods
Filling the pod was really easy and fairly intuitive. Pop off the mouthpiece (the black plastic cap) at the top of the pod to reveal the refill port beneath - this is a hole surrounded by a red bung. The red bung is there to prevent leaking, I suspect - as pushing the nozzle of the bottle was by no means difficult, but was definitely a snug fit.

As I said - this was a really simple process, demonstrating that Vaporesso have really put thought into the usability of their products. The pod doesn’t need to be removed from the device whilst you’re refilling it either, making it much easier if you’re out and about or busy doing something else at the same time. Absolutely no complaints so far; the next step is to actually give it a go!
Top Tip: Don’t forget to prime your pod if you’re using it for the first time - to do this with the Xros replacement pods, drop about 5 drops of juice into the centre of the pod and let it soak for roughly 30 seconds. You’ll notice the cotton at the centre will change colour slightly as it saturates. Once you’ve done this fill the pod as normal and let it sit for another 30 seconds. Why? Because priming your pod makes it last much longer and by doing so you avoid those nasty dry hits that hurt your throat and taste like burning.
What can I say other than - wow? From the very first puff the flavour hits you full force. There’s no gradual build up and you don’t have to take a few drags to break the coil in first - literally from the first inhale the flavour is incredible. To test this device I tried out one of my new favourite e-liquids - the Bar Juice 5000 Butter Mints nic salt vape juice - although you don’t have to use nic salts with your Xros 3, any 50/50 VG/PG liquid will work well.
Although this liquid may be a touch too cold for a pod vape this powerful, it still worked really well - the first thing to reach me was the classic ice-cold mint, but hot on its heels was the buttery caramel with its subtle sweetness. I really can’t fault the Xros pods for their flavour, as they’re the best pods for genuine, authentic flavour I’ve ever tried - you can really taste the different nuances and flavour notes (so long as you’re using a quality vape juice).

The 0.6Ω pod also produced quite a bit of vapour for a pod kit too; not as much as you’d expect from a sub ohm device, but definitely more than the average mouth to lung vape. Overall I really enjoyed the 0.6Ω pod - it had a real kick to it in terms of power, produced a satisfying cloud and was packed full of flavour too. An all-rounder in my opinion.
The 1.0Ω pod on the other hand was ever so slightly underwhelming - but this could be because I prefer strong vapes. The 1.0Ω still had really good flavour, and even handled the coolness of the Butter Mints better as it was weaker, so the cold kick wasn’t as overwhelming, but it was lacking a certain oomph. This is definitely a pod that’s better for mouth to lung vapers or those that prefer an inhale that simulates smoking - it’s much tighter, less powerful and produced a more discrete amount of vapour too, when compared to the 0.6Ω pod.
Battery and Charging
The new Xros 3 features a 1000mAh internal battery that’s rechargeable through USB Type-C - which Vaporesso have generously provided for their customers. On the Vaporesso website it states that the Xros 3 can last for up to 48 hours on a single charge - I’m unsure as to exactly where they got this data from as I can assure you I did not get 48 hours of use out of mine, even when using the 1.0Ω pod.
I’m aware that I’m quite a heavy vapour, as I’m used to using sub ohm vapes and RDTL kits that often have much bigger batteries; but even so - the device only lasted for about 14 hours whilst using the 0.6Ω pod before it needed to be recharged. This is quite a significant difference considering what was advertised. However, admittedly it did last more than long enough as I didn’t actually need to charge it until the next day.
I will say that although the fabled 48 hours wasn’t a reality for me, I was generally pleased with how long lasting the battery actually was, as I really put it through its paces. It also didn’t take long to recharge at all either, though it was longer than Vaporesso led me to believe. From the battery being completely dead, it reached full charge within roughly 40 minutes - which is impressive compared to other pod vapes I’ve used in the past that have taken as long as an hour and a half to charge.
As you may have seen earlier, Vaporesso have incorporated a new LED indicator into the Xros 3 vape. This LED light has been designed to notify you of how much battery life you have left, which gives you an idea of when you’ll need to recharge your vape. The light uses a simple RGB system - Red, Green, Blue.
In my experience there's a significant drop in power when the battery hits 30%, which made me want to charge the device immediately, as it wasn’t as enjoyable. However, you’ve still got about an hour(ish) before the battery dies once the red LED is displayed.
Design and Build Quality
As you may have noticed, the Xros 3 is a thin, rectangular vape that’s small enough to slip into a pocket or bag, whilst also being big enough to feel right at home in the palm of your hand. It’s because of its shape and size that the device is so portable and comfortable to use - it also makes the batteries longevity and the consistent power even more surprising, as you wouldn’t expect such a powerful puff from such a small vape.
Versatility and Customisation
Although the Vaporesso Xros 3 doesn’t sport a whole load of adjustable settings, it still has a bunch of customisation options - from the array of different pods that cater to the various vaping styles, to the adjustable airflow. The customisable airflow has two airflow inlet holes; when one of these is open it offers quite a restricted mouth to lung draw.
If you fully open the airflow so that both airflow holes are visible it will provide an airier inhale that’s better for restricted direct to lung vaping. I switched between the two a few times to get a feel for the different styles, and I have to say there didn’t seem to be a massive amount of difference really, although it was still noticeable, especially when using the different pods.

Pros
- Compact vape that’s highly portable
- Amazon flavour and vapour production
- Huge variety of pod resistances
- Adjustable airflow for mouth to lung or direct to lung vaping
- Battery lasted all day after heavy use
- No leaking or condensation buildup
- Consistent vapour production up until 30% battery remaining
- Really easy to refill with top-fill pods
- Autodraw and button activation both worked perfectly
- Fixed-coil mesh pods means no mess or maintenance issues
Cons
- Battery didn’t last as long as advertised
- Adjustable airflow didn’t make as much difference as it could have
- Takes slightly longer to charge than expected
- Can’t stand the device up whilst it’s charging
Overall I really enjoyed using the Vaporesso Xros 3 kit - it was simple, straightforward and performed really well. I’d definitely recommend this pod kit to both beginners and experienced users - it would definitely benefit anybody that’s been using disposable vapes as the autodraw functions exactly the same way as a disposable, and the pods offer really strong flavour too. I didn’t encounter any actual issues whilst using the kit, other than being slightly disappointed by the fact that the battery only lasted for about 14 hours instead of the 48 hours claimed by Vaporesso.
I’d give the Xros 3 a solid 8.5/10, and it’s a definite improvement on previous generations of the Xros too.

The Vaporesso Xros 3 has now been replaced by the Vaporeso Xros 4 and Xros 4 Mini - the latest generation of the Xros vapes. The Xros 4 features 3 power settings, allowing you to tailor your power to suit your preferences. Similar to the previous Xros vapes, the Xros 4 has an adjustable airflow. However, unlike previous generations the new Xros 4 is compatible with the new 0.4Ω Xros pod. The 0.4Ω replacement pod contains the all new COREX 2.0 mesh coil technology fo longer lasting pods and unimaginable levels of flavour. Take a look at the 4th generation of the Xros today and discover the best Vaporesso vape to date!
